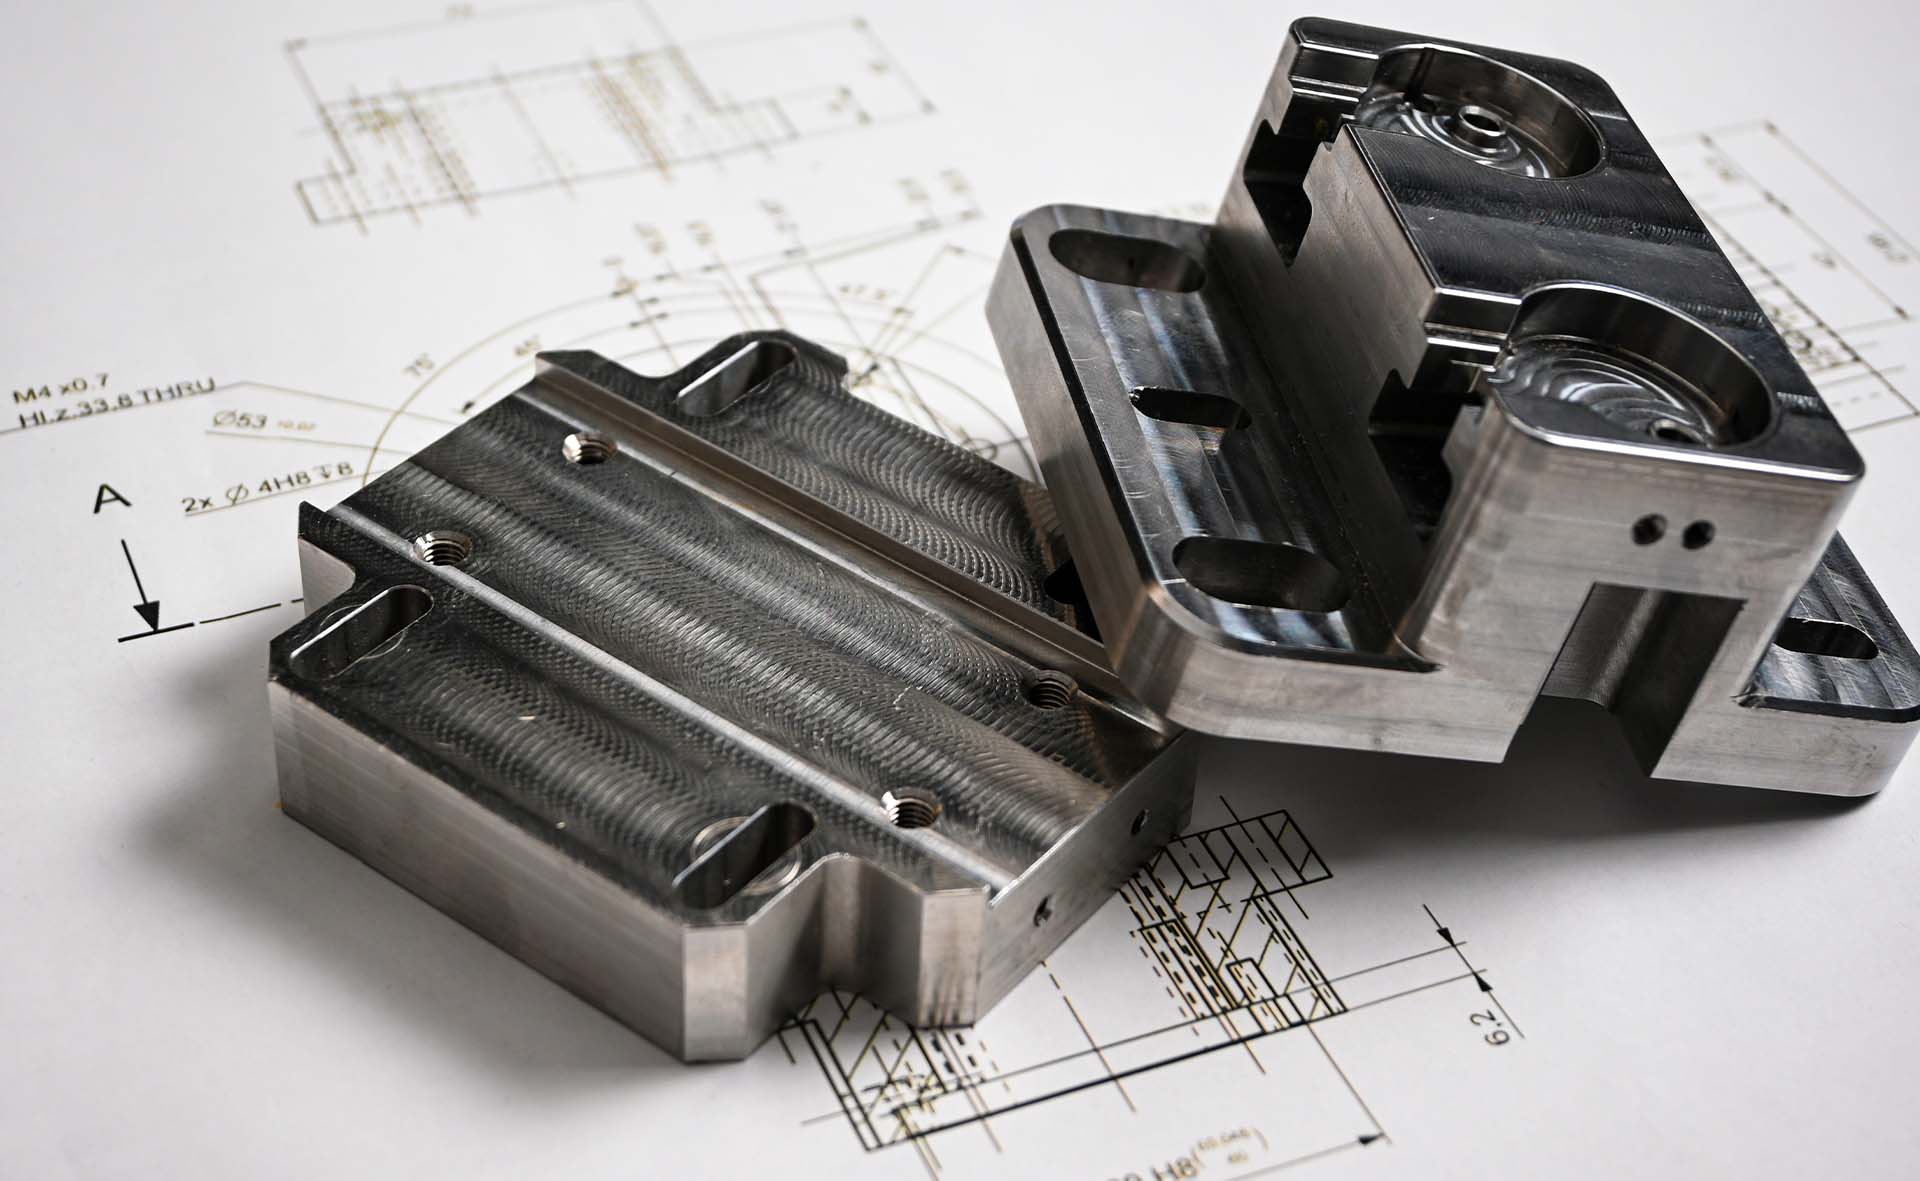
Get to the know the basics of selective laser sintering, also known as SLS 3D printing. Find out how SLS printing works, the materials and post-processing options available, advantages and disadvantages of the process, and how the 3D printing technique can benefit you.
Selective Laser Sintering (SLS) is an additive manufacturing (AM) technique that belongs to the Powder Bed Fusion family and is often referred to as the plastic counterpart of Selective Laser Melting (SLM) and Direct Metal Laser Sintering (DMLS). It works by selectively fusing powder together layer-by-layer to build a solid object.
SLS is an industrial 3D printing method that is known for building sturdy, durable parts out of established materials (mainly nylon). It is also fast, accurate, and can handle geometric complexity with ease. For these reasons, SLS has been a popular choice among engineers and manufacturers for functional prototypes and end-use low-volume parts for decades.
Overall, the process involves 3 basic steps: printing, cooling and post processing.
The SLS 3D printing process takes place primarily in the interior of the 3D printer, called the build chamber. First, a layer of powdered material (typically nylon) is flatly distributed across a platform located inside the build chamber. Then, the heaters in the printer preheat the powder to a temperature just below its melting point, and lasers fuse the powder layer at specific points to form a 3D cross section of the desired build.
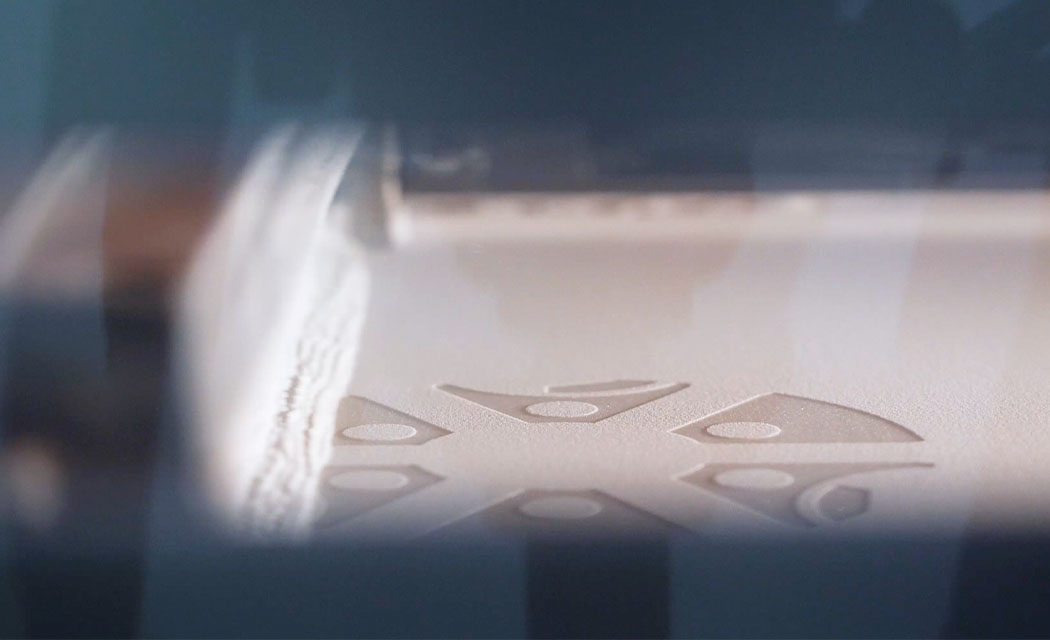
After the first layer of powder is sintered, the platform is lowered slightly, another layer of powder is distributed and the process is repeated over and over until the build is fully printed. Throughout the printing process, the unsintered powder acts as the structural support for the build
Due to the high temperatures involved, after printing, the powder bin must cool before the parts can be unpacked to ensure sure optimal mechanical properties and avoid warping and shrinkage as much as possible. This cooling process can, however, take a considerable amount of time—sometimes up to 12 hours.
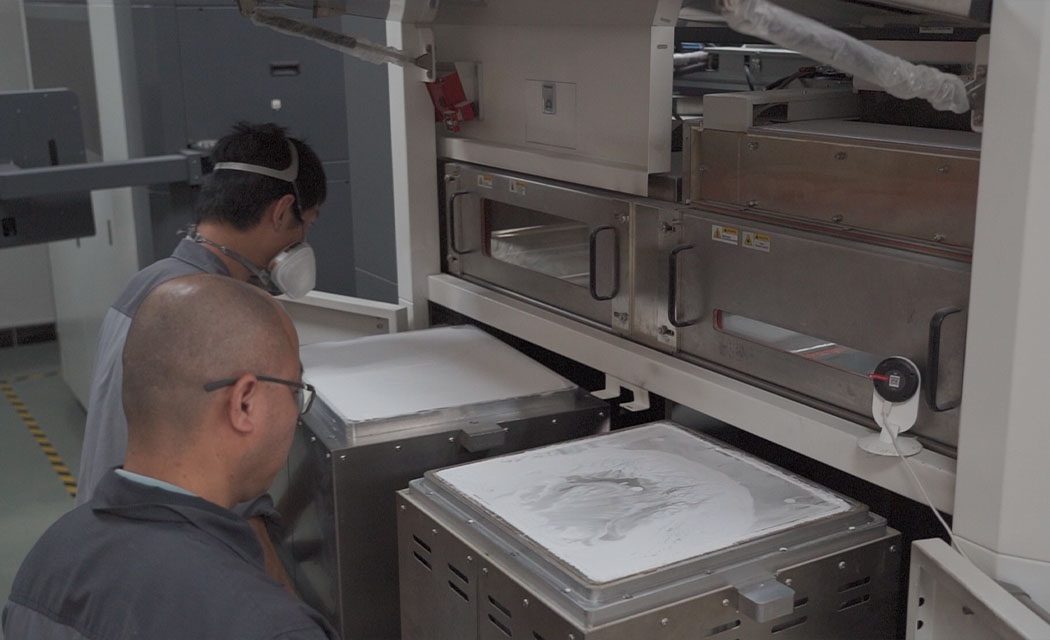
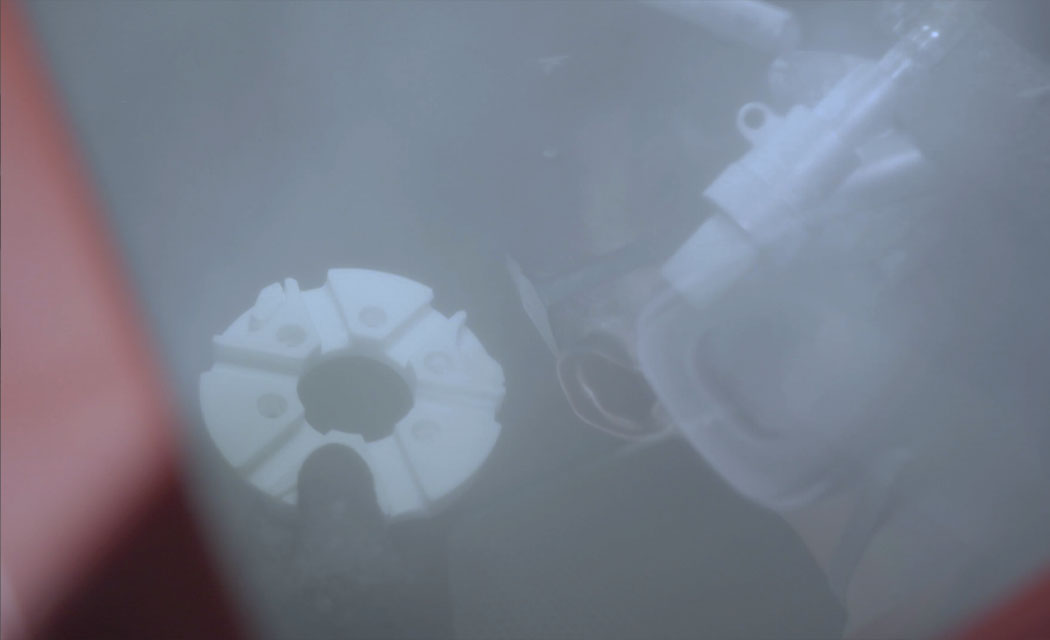
Once all the layers have cooled, the sintered parts are separated from the unsintered powder, and the excess powder is cleaned and removed to reveal the final 3D-printed object. Further post-processing or surface finishes can then be applied to the final part to improve surface quality or enhance functionality.
Nylon (Natural White or Black)
Many sectors, including industrial, prefer nylon (PA) as a material for SLS 3D-printed parts. It has high thermal stability, high wear resistance, and is exceptionally strong. PA comes in three colors: black, white, and beige. But these can be dyed in post processing.
Glass-Filled Nylon
Filling PA with glass fibers (GF) makes a PA-GF material that is a great alternative to metal. It increases PA’s thermal resistance to up to 110°C, as well as improves its resistance to wear. If you’re looking to print a mechanical part that is more stiff and able to withstand higher temperatures, PA-GF is probably your best option.
TPU
TPU, a rubbery material available in many different colors, differs from nylon and PA-GF in that it is much more elastic and flexible. It’s also smooth to the touch. But it still provides an extraordinarily high amount of durability and strength. Industries such as medical and consumer goods often select TPU as their SLS material of choice.
Polypropylene
While PA12 is the most common material for SLS, polypropylene (PP) is actually a popular alternative. PP parts offer good toughness, fatigue resistance and elongation at break, making it a good choice for snap-fit designs and living hinges.
SLS printed parts have a rough, grainy surface structure, that often requires extensive post-processing to achieve a smooth, aesthetic finish. The appearance of SLS printed parts can be improved through various post-processing techniques, including media tumbling or blasting, vapour smoothing, dyeing and spray painting. Protective coatings, such as watertight coating or a metal plating, can also be applied to SLS components to enhance functionality.
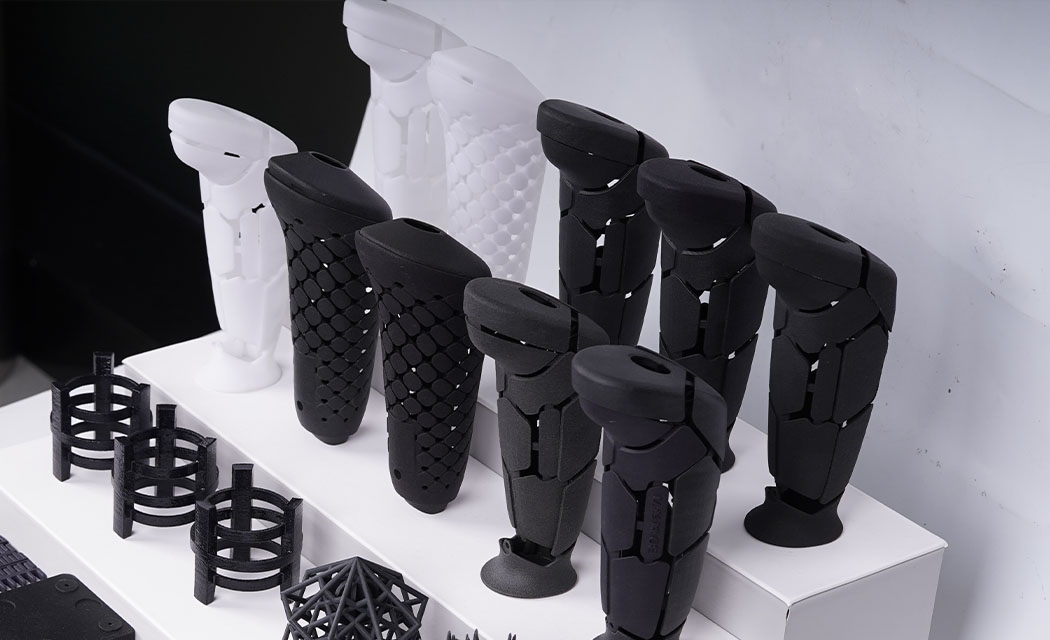
With SLS, multiple plastic objects can be printed simultaneously. The parts can also be stacked to optimize build space and printing time. This enables HLH Rapid to efficiently handle both small-batch and low-to-medium volume orders, while also meeting large orders from industrial clients.
Unlike other additive manufacturing processes, such as Stereolithography (SLA) and Fused Deposition Modeling (FDM), SLS does not require support structures even for features like overhangs, allowing for greater design freedom. For this reason, it is also one of the easier 3D printing technologies to design for.
SLS parts have good isotropic mechanical properties, making them ideal for functional prototypes, jigs, fixtures and even end-use components.
Once a print is finish, around 70% of the remaining powder can be reused (aka recycled).
The selection of materials for SLS 3D printing is more limited compared to methods like SLA and FDM, which can print with transparent resins, ABS, PC and other common thermoplastics.
SLS components – especially large, flat surfaces – are more likely to shrink and warp (typically between 1–3.5%) during cooling due to the high temperature experienced during printing.
SLS printed parts come out grainy and require extensive post processing to achieve a smooth finish, which can be costly. Although vapor smoothing options are available, the resulting surface quality still cannot match the smooth, high-resolution finish achievable with printing techniques like Stereolithography.
Due to the powder bed fusion process used in SLS, radiant heat from the laser can cause adjacent powder particles to sinter unintentionally, resulting in a loss of detail in fine features such as small holes or slots.
Essentially, the processes are similar; the main difference lies in the materials—plastic versus metal. In terms of process, selective laser melting (SLM) uses a laser to fully melt and fuse metal powder into a liquid state to form a solid part, whereas SLS uses a laser to heat the polymer powder just enough for the particles to fuse (sinter) together.
The primary material for both SLS and MJF is nylon, and they are both Powder Bed Fusion (PBF) technologies. The processes are largely similar, but the main difference lies in the heat source. SLS uses a laser to fuse the powder into solid parts, whereas MJF applies a fusing agent (ink) to the powder and then uses an infrared energy source to form the solid part.
While the process has many advantages, it also has its limitations. Staying within a set of geometric recommendations can help ensure better part quality and a successful print. To find out how to design wall thickness, hollow parts, mating parts and more, view our SLS 3D Printing Design Guide.
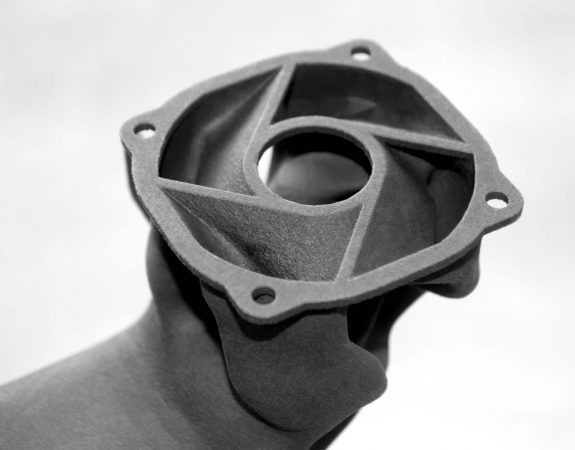
Available for MJF, SLS, SLA, SLM, FDM
Source SLS 3D-printed parts with HLH. Simply submit your CAD drawing through our Get a Quote form, along with your requirements, including quantity, material, and surface finish. Our team will provide you with a quote within 24 hours or less.
