Vacuum casting, also known as urethane casting or polyurethane casting, is a casting process used to produce production-quality parts from a range of thermoplastics, rubbers and resins without the cost or lead time required for production tooling or “hard tooling.”
Where injection mould tools are made from metal (steel, aluminium etc), vacuum casting uses soft silicone moulds. The process is ideal for creating a small series of parts and is often used in the early stage of product development before committing to injection moulding.
In this introductory guide, we give you an overview of the vacuum casting process, materials used, considerations, and key benefits and limitations of this form of manufacturing.
It is a cost-effective alternative to injection molding, which requires expensive tooling costs and long lead times. Vacuum casting produces accurate and durable parts quickly and at a fraction of the cost of traditional methods. The process is often used to produce prototypes and small production runs of parts.
Overall, the process involves 3 main stages: building a master model, creating the silicone tool, and producing the parts.
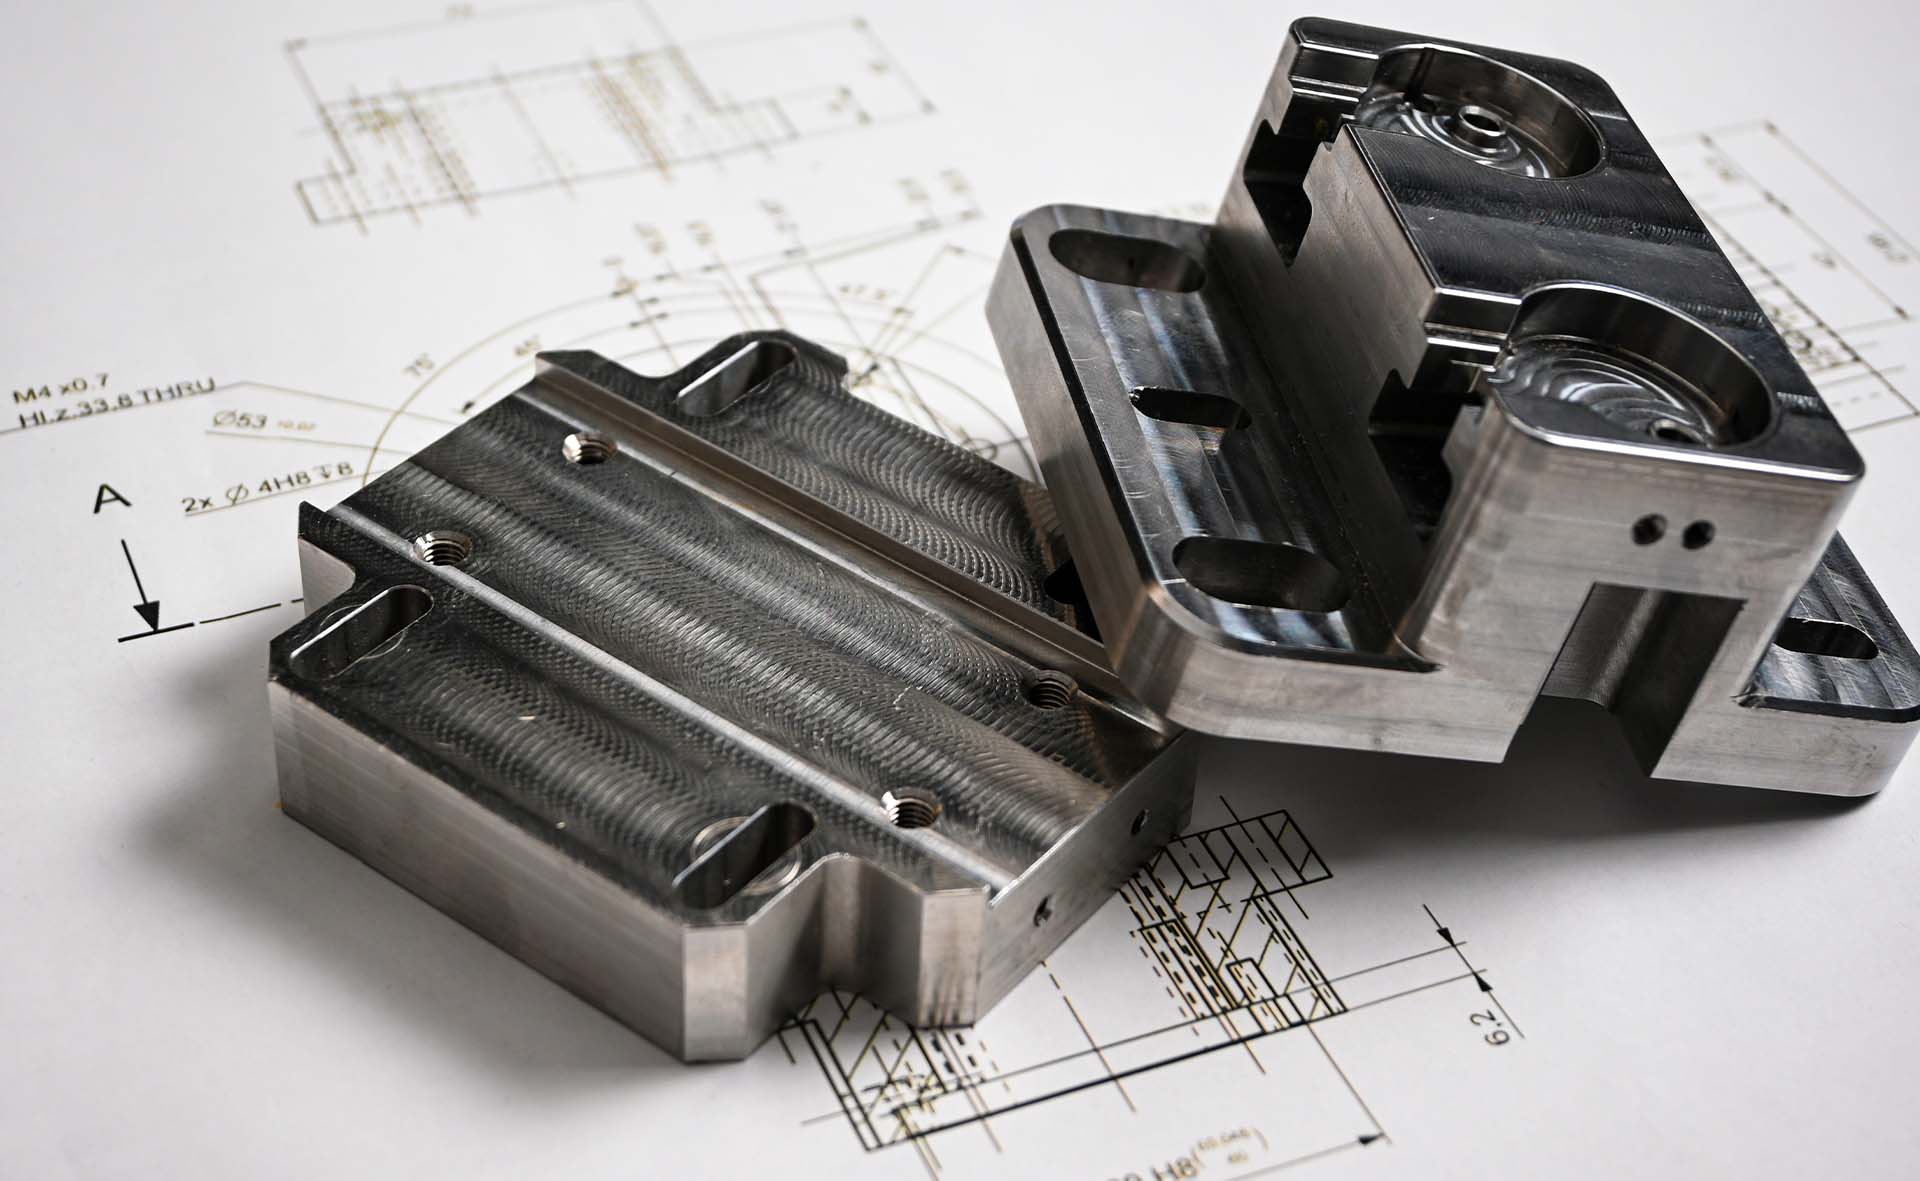
First, a high-quality master model with high dimensional accuracy is required to ensure. Typically, this master model is made via 3D printing or CNC machining, then sand, painted and primed to achieve the desired surface texture and quality. Every tiny detail will be replicated in the final vacuum casted part, so it’s essential to create a flawless master model.
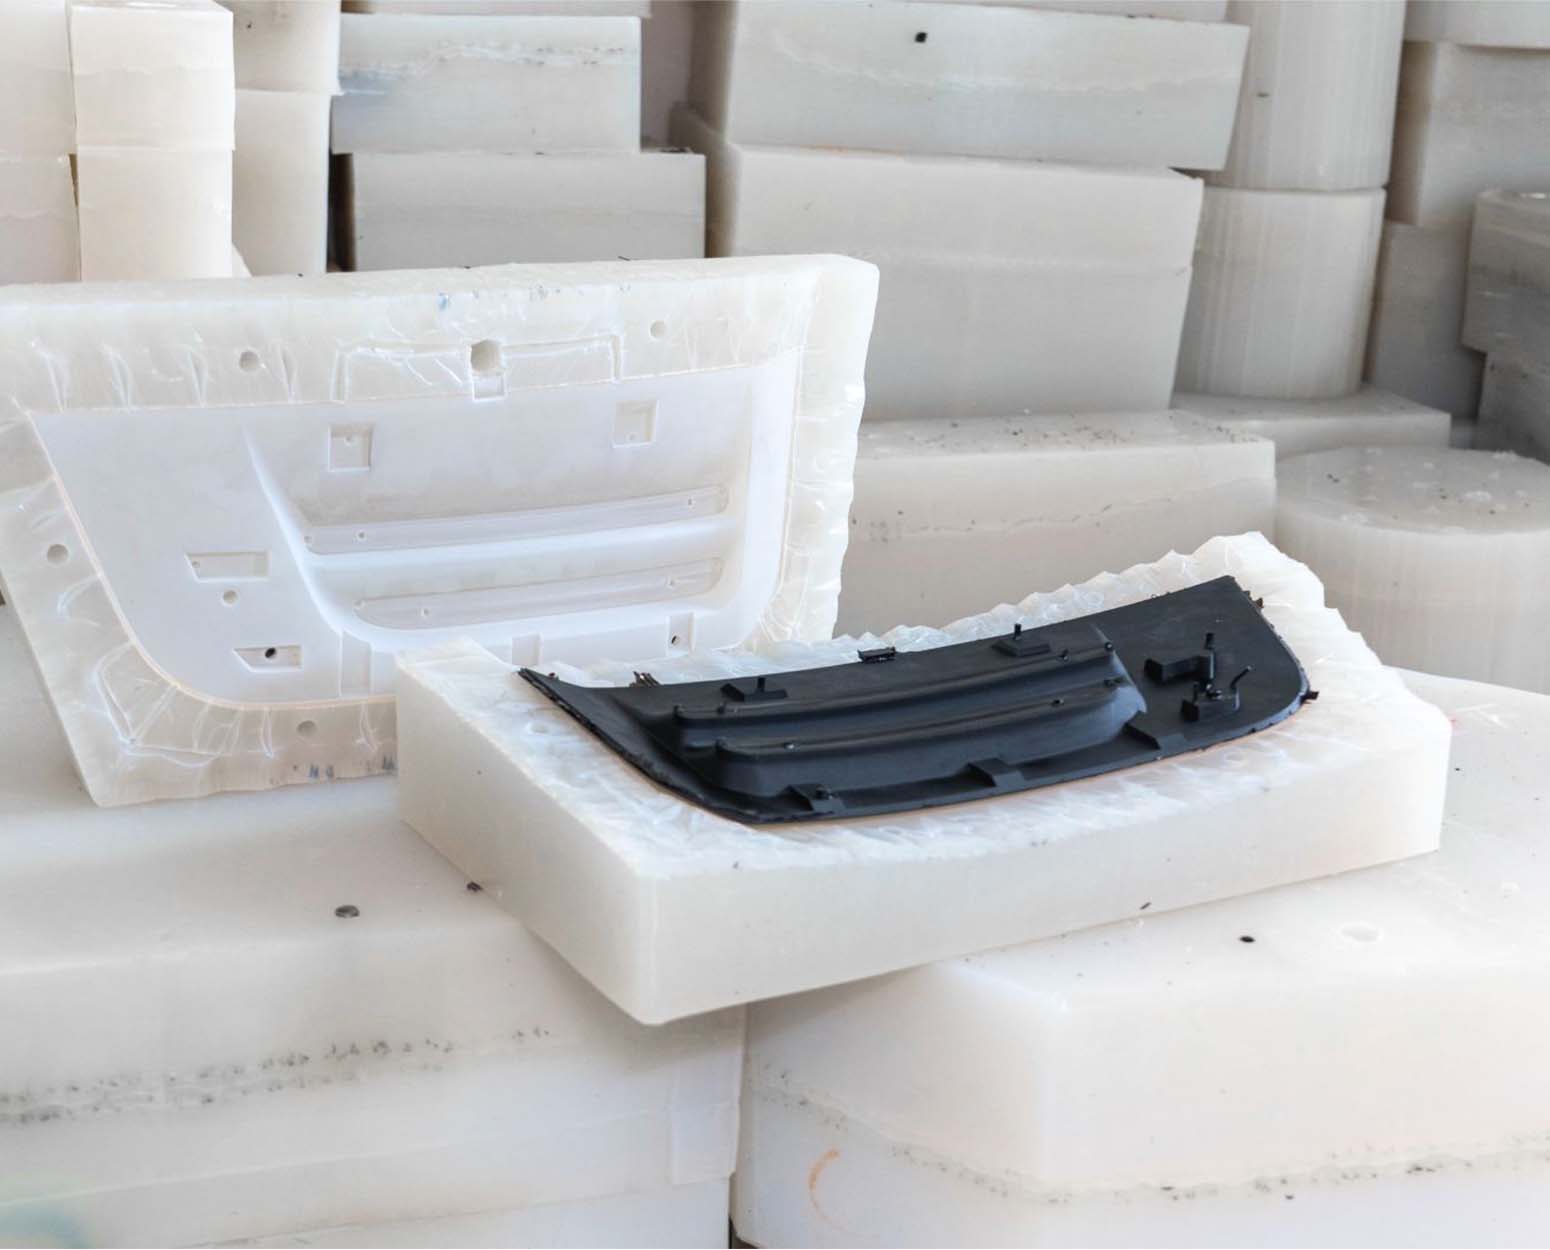
The master model is then suspended in a casting box in which liquid silicone is poured around it. The molten silicone is allowed to cure inside the casting box, which is maintained at 40*C, for about 8-16 hours. After it has solidified and curing is completed, the mould is cut open and the master model is taken out leaving a hollow space in the middle of the silicone mould, which fits the dimensions and specifications of the master model.
The ‘hollow’ mould is filled with polyurethane (PU) resin using a funnel for uniform distribution and to prevent any air bubbles from forming. The mould is then sealed left in a casting machine at around 70°C to cure. The shaped material is then cooled, removed from the mold, and post-processed as necessary. This process can, on average, be repeated 10 to 20 times. Going beyond these limits will cause the mould to gradually lose its shape, affecting dimensional accuracy.
In vacuum casting, you can expect the general shrinkage rate — the difference between the master pattern and the cast part — to be approximately 0.15 to 0.25 per cent. This is less than the general shrinkage rate for injection moulded plastics.
While the process has many advantages, it also has its limitations. Simple design modifications such as adjusting rib thickness can help minimize sink effects and ensure better part quality. Check out how to design bosses, undercuts and more in our Vacuum Casting Design Guide.
Materials used in vacuum casting include thermoplastics, rubbers and resins – all of which emulates specific properties and characteristics.
| ABS-like |
|
| PA-like |
|
| PC-like |
|
| PP-like |
|
| PMMA-like |
|
| Soft-rubber-like |
|
Urethane casting is not just great for functional parts but is also one of the best manufacturing processes for cosmetic products. Many surface finish option can be achieved in the moulding process. These include polished, glossy, matte and textured finish. The appearance of vacuum casted parts can be taken to the next level through various post-processing techniques, including pad printing and silk screening.